INSTRUCTION

Step-01

Step 01

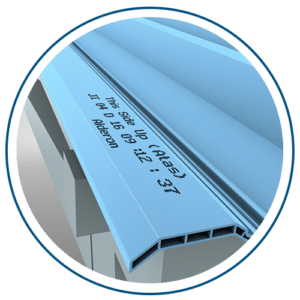
To avoid wrong installation, please always install Alderon ® with “this side up” surface to the sun. For easy identication, this indication is printed near the edge side.

Caution: wrong side installation will void the warranty

baut alderon

Step 02

To avoid wrong installation, please always install Alderon ® with “this side up” surface to the sun. For easy identication, this indication is printed near the edge side.

Caution: wrong side installation will void the warranty

sambungan atap alderon

Step 03

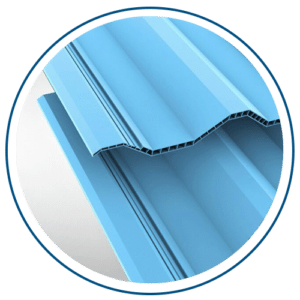
Overlay the top part of the anti-leakage coupling system on top of the underlap. For the length overlap, allow 200mm overlap for low pitch roof and 150mm for steeper one.

Caution: wrong side installation will void the warranty

sambungan atap alderon

Step 04

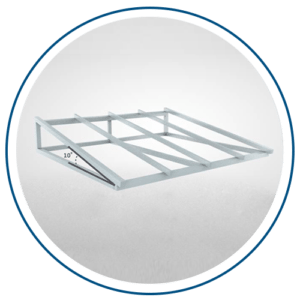
Minimum 10º roof pitch is required to ensure sufficient rain water run off.

Caution: wrong side installation will void the warranty

sambungan atap alderon

Step 05

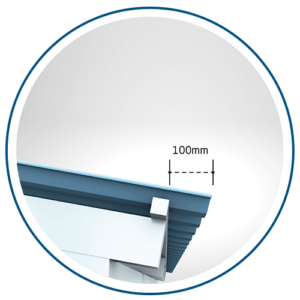
The maximum overhang distance is 100mm for Alderon®.

Caution: wrong side installation will void the warranty

sambungan atap alderon

Step 06

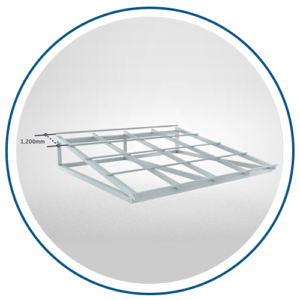
Recommended purlin distance is max 1,200mm.

Caution: wrong side installation will void the warranty

WEATHER SEAL INSTALLATION

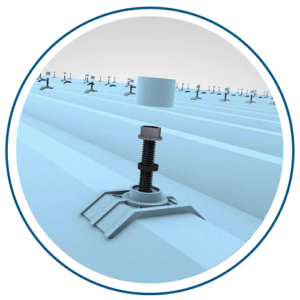
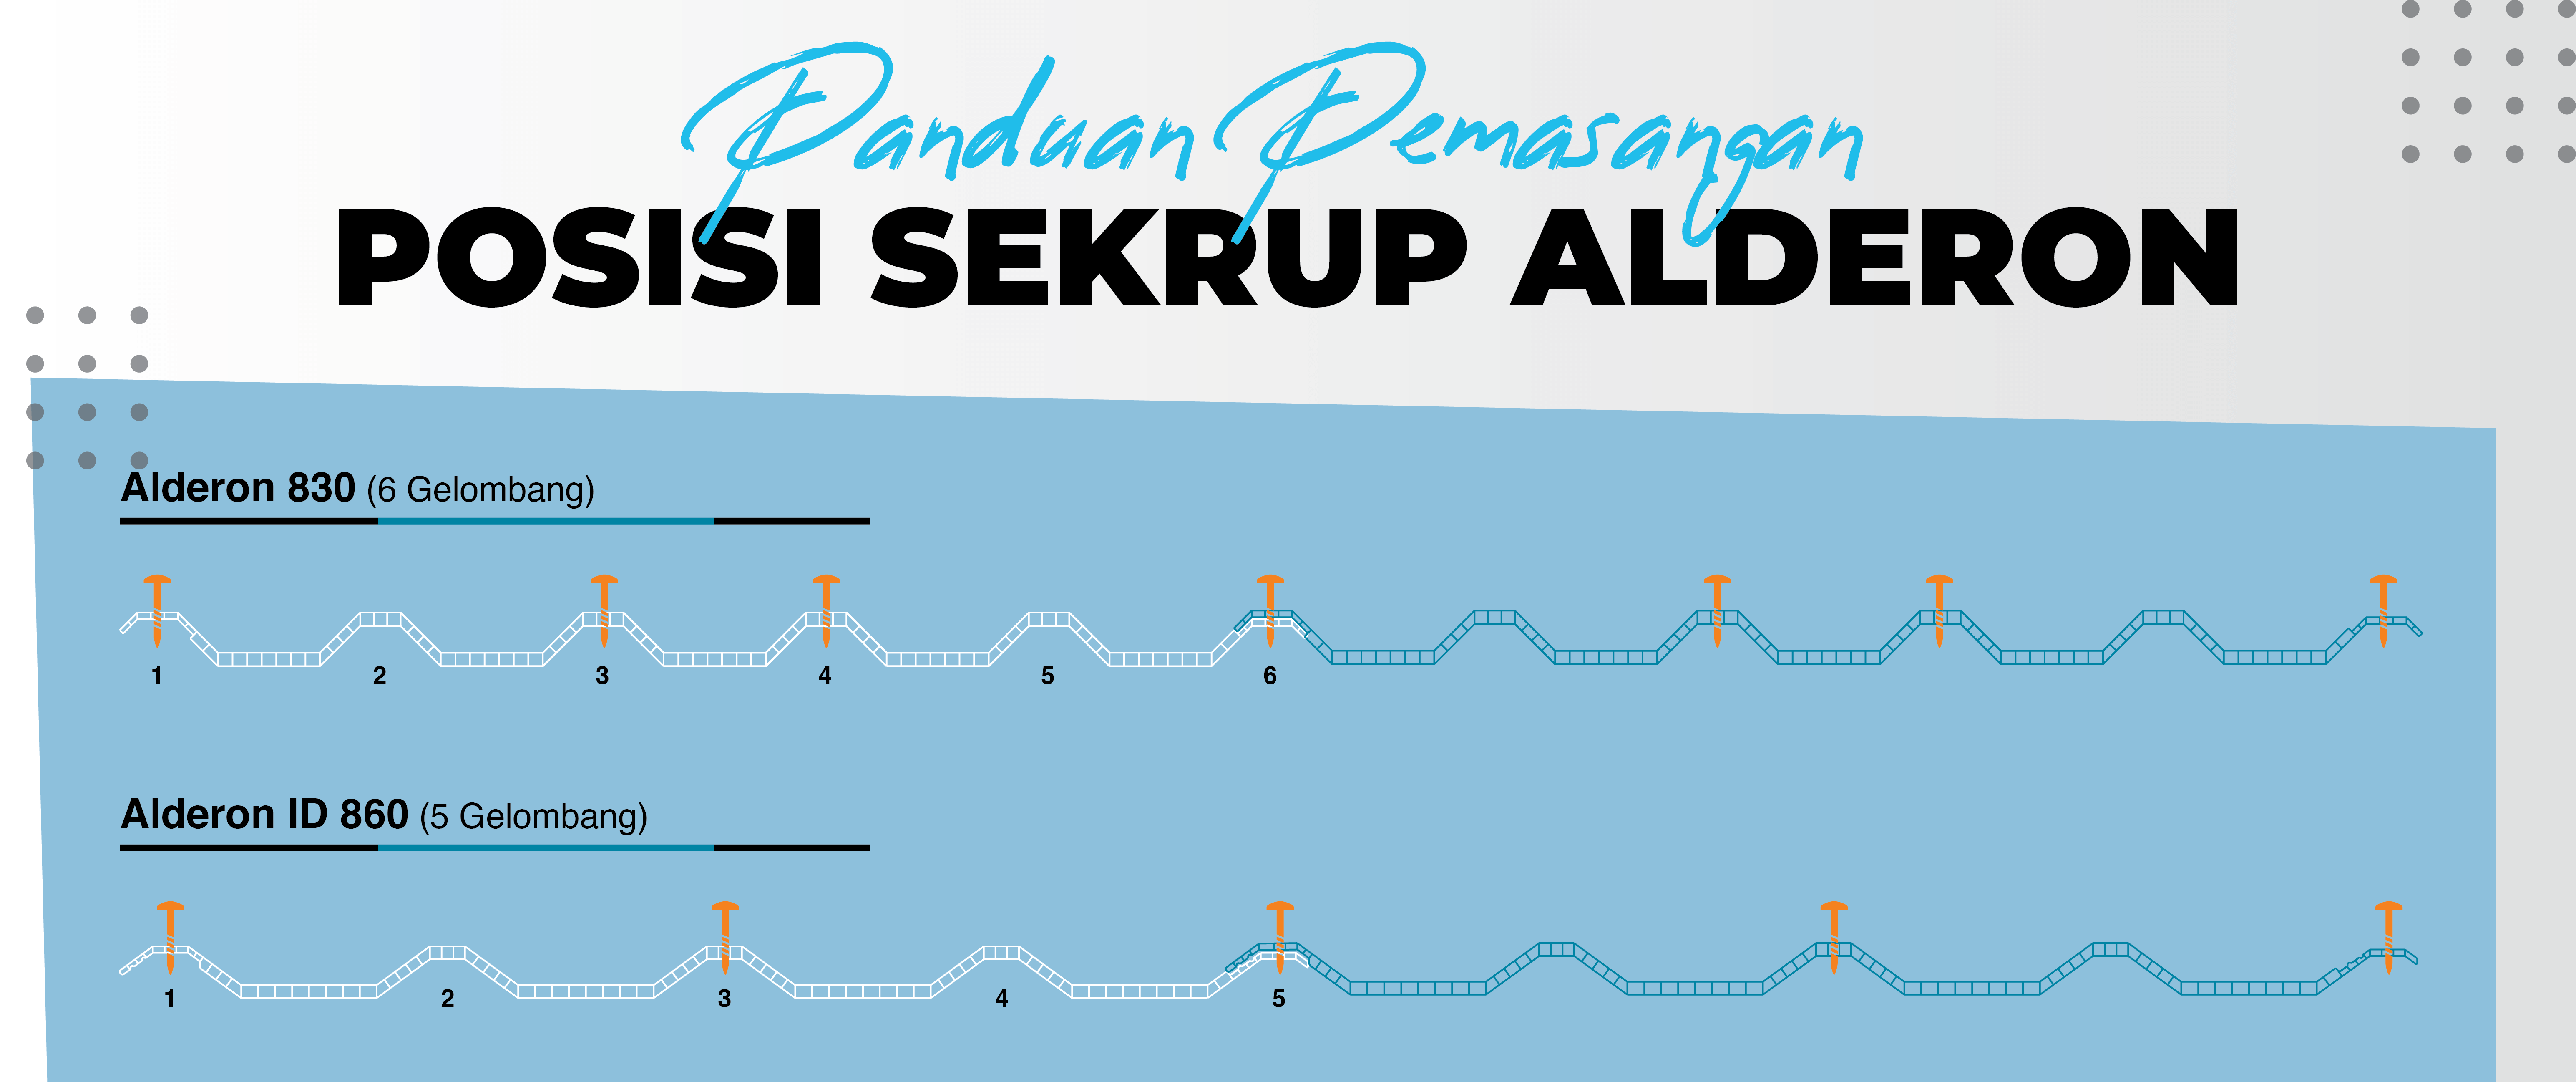
Pre-drill the holes at range of 3 mm from the diameters of fastener to allow thermal expansion during noon time and contraction at night.

When mounting bolts, the bolts must be on the top arch and aligned in the same row to back.

  • Alderon Twinwall 830: Install the bolts to waves 1, 3 and 4. While wave 6 overlaps with the next sheet.
  • Alderon Twinwall 860: Install the bolts to waves 1 and 3. While wave 5 overlaps with the next sheet.

VIDEO INSTALLATION

CONTACT US

We’re here to help you with whatever you need.

LET'S GET SOCIAL

Want to get our product faster ?

CONTACT US

Alderon

Altira Office Tower 37th Floor
Altira Business Park
Jl. Yos Sudarso Kav. 85
Jakarta 14350 - Indonesia

Phone +6221 2188 2099 / 2001
Fax : +6221 2188 2098 / 2021
Email cs@impack-pratama.com